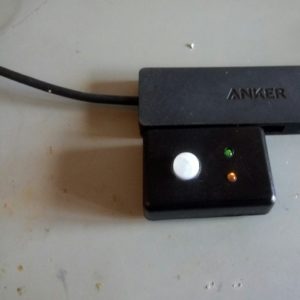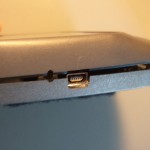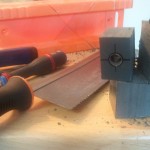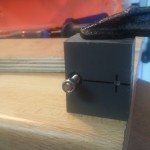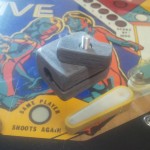
USB motion sensor (PIR) to activate monitor

I have an always on net-book for weather forecast (yeah, when paragliding, you need the most up to date forecast)
It basically displays a full screen custom web-page with time and date and weather.

Its always on, not really good for the back-light and energy consumption.

So I got the idea of plugging a PIR sensor to wake up the screen when someone approach it.

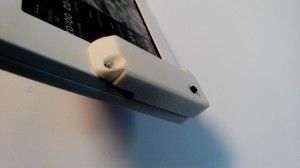
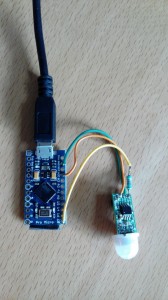
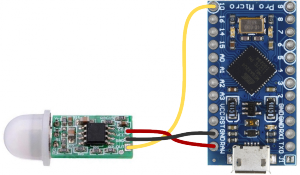
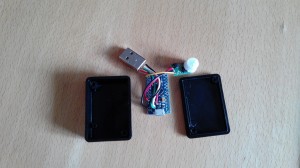
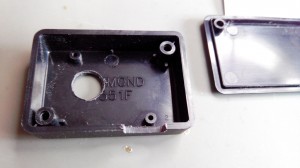
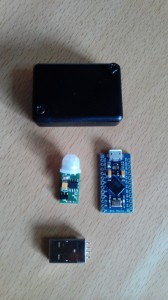
Take an Arduino Micro Pro (4€ for the Chinese version), a PIR sensor (2€), a Hammond case (1€) and an USB A male from scrap (0€).

Let’s give a try, with a basic wiring, and this sketch to emulate keyboard thanks to it’s USB HID, the Arduino Micro Pro is a must.

Updated 05-01-2017:

  • code with USB wakeuphost and capslock instead of ctrl
  • green TX led always on
  • orange RX led only on motion
#include <Keyboard.h>

#define SENSOR_PIN 10   // Senor state input pin
#define RX_LED_PIN  17  // The RX LED has a defined Arduino pin
static bool sensor_previous_state = false;

void setup()
{
  pinMode(SENSOR_PIN, INPUT);  // PIR sensor pin as input
  pinMode(RX_LED_PIN, OUTPUT);     //  RX LED as an output
  digitalWrite(RX_LED_PIN, HIGH);  //  RX LED off
  TXLED0;                     // switch on TX green to show init/powered up (only available by macro)
  sensor_previous_state = digitalRead(SENSOR_PIN); // get sensor initial state (can be already true)
}

void loop()
{
  bool sensor_current_state = digitalRead(SENSOR_PIN);
  if ( sensor_previous_state == false   // looping until we detect a rising edge
       && sensor_current_state == true) {// when sensor state is trigged, it takes about 20 sec to recover
    digitalWrite(RX_LED_PIN, LOW);   // set the LED on
    USBDevice.wakeupHost();
    Keyboard.press( KEY_CAPS_LOCK );
    Keyboard.release( KEY_CAPS_LOCK );
    TXLED0;                     // great hackery in this: we have to force down the TXLED
    delay(1000);                  // wait a bit for the led
  } else {
    digitalWrite(RX_LED_PIN, HIGH);    // set the LED off
    TXLED0;
  }
  sensor_previous_state = sensor_current_state;
}
2017 update: lightguide for green and orange LEDs:
p70105-114417
Update: LED lightguides from the scrap box
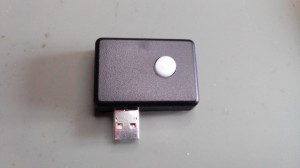
And voila!
Quite nice, discrete and works very well, for about 10€/$.

Kobo mini GPS mod with 3D printed case

Introduction

XCSoar is an amazing software for sailplane, hang-glider and paraglider. But lack the proper hardware with the following features:

  • sun readable ( eink)
  • usable with gloves (anything but capacitive)
  • long battery life
  • running android/linux
  • GPS and/or bluetooth
  • dirt cheap (yes 50€/£/$ for this hardware is dirt cheap)

The Kobo Mini is a very good eReader (unfortunately no more retailed) appears to be meeting all theses requirements except the GPS.

Hardware

Component list

You will need for this mod:

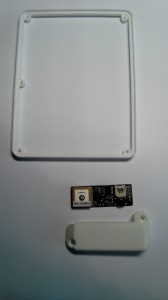
  • Kobo Mini reader
  • GPS module with serial output or a BlueFlyVarioTTL
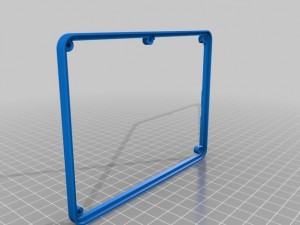
  • 3D printed spacer
  • extra battery
  • iron solder (a good one, I use this)
  • solder wire and a piece of flat ribbon cable

( By the way, the way Kobo handles the first boot is just crap: no I don’t want to register my device online or anything, just to drag and drop my own ePub books, thanks! )

GPS module instructions

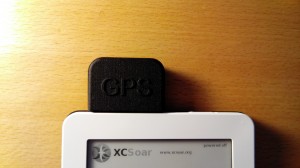
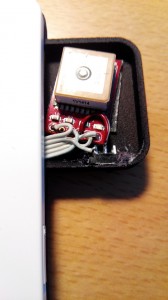
Solder the MTK3339 GPS breadboard (with a piece of flat ribbon cable such as IDE, Floppy, whatever..)
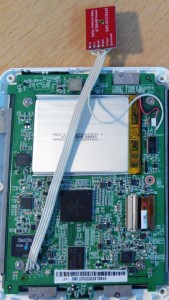
KOBO to GPS MTK3339 wiring

KOBO - MTK3339
KVCC <-> VCC
TP2 <-> BACKUP (TP2 is just below the battery connector)
RX  <-> TX
TX  <-> RX
GND <-> GND

Don’t forget to cross RX<->TX and TX<->RX (the eternal embedded engineer question, RX TX….)

Just in case you wondered, yes the BACKUP does accept 4.2V (TP2 is battery test point, so not regulated), and not just 3.3V (have a look on the MTK3339 datasheet)


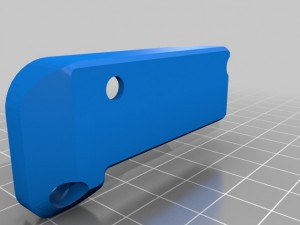
You can download the STL of the “Kobo mini Case Spacer II” on Thingiverse
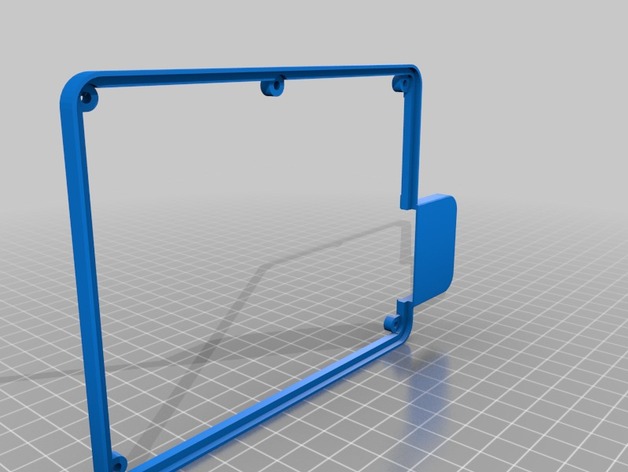
And download the gps cover
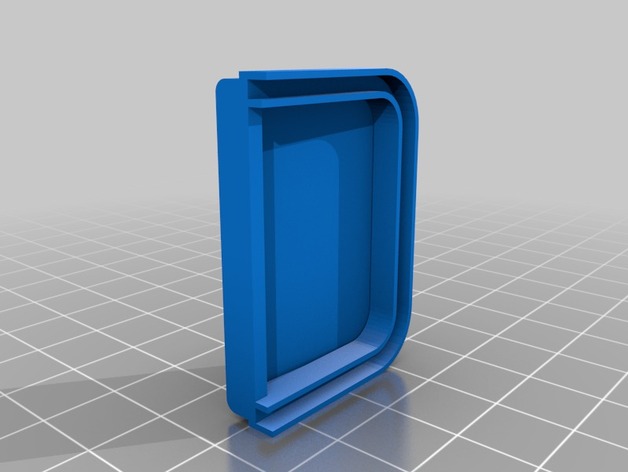
The STL (in mm) file is then printed by Shapeways for just 22€ incl P&P, delivered in about a week: very cool!
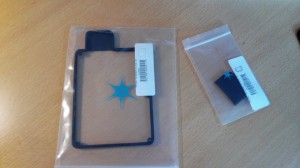
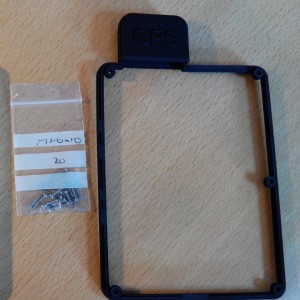
 

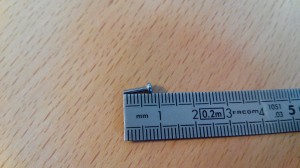
You will need 5screws, size M1.6 and 8mm (my 10mm were too long, I had to cut them with a pair of pliers)
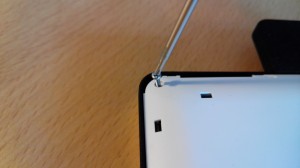
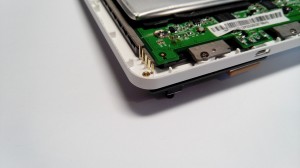
All fit snugly, even the original back cover.

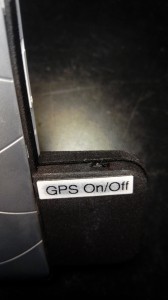
Add ON/OFF button to switch the GPS power (a simple SMD switch to the GPS’s VCC)

So I can still use it as a regular eBook without draining the battery and without the blue led blinking in the dark.

The switch is accessible by nails as it’s quite recessed.

Add a label for even more clarity.

BlueFlyVarioTTL instructions

Or this set for the BlueFlyVarioTTL, download the cover: And download the spacer for the battery:

The file STL (in mm) is then printed by Shapeways for just 19€.

You will need 5screws, size M1.6 and 8mm (my 10mm were too long, I had to cut them with a pair of pliers)
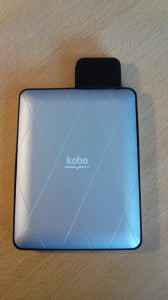
Solder 0.1″ header
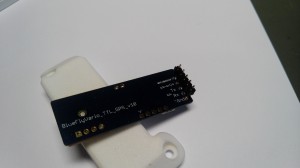
And remove the black plastic from the header
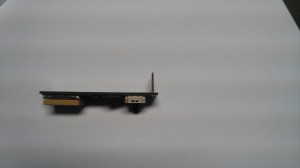
Drill 5 holes with a 1mm bit, using the module as guide
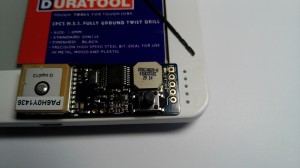
Insert it

Then solder the 5 wires

Use 2 parker 3mm screws

That’s it

Battery for GPS module or BlueFlyVarioTTL

The original battery of 1000mAh gives from 4 to 6h, which can be quite a limitation.

The original 1000mAh beside the new 3800mAh battery
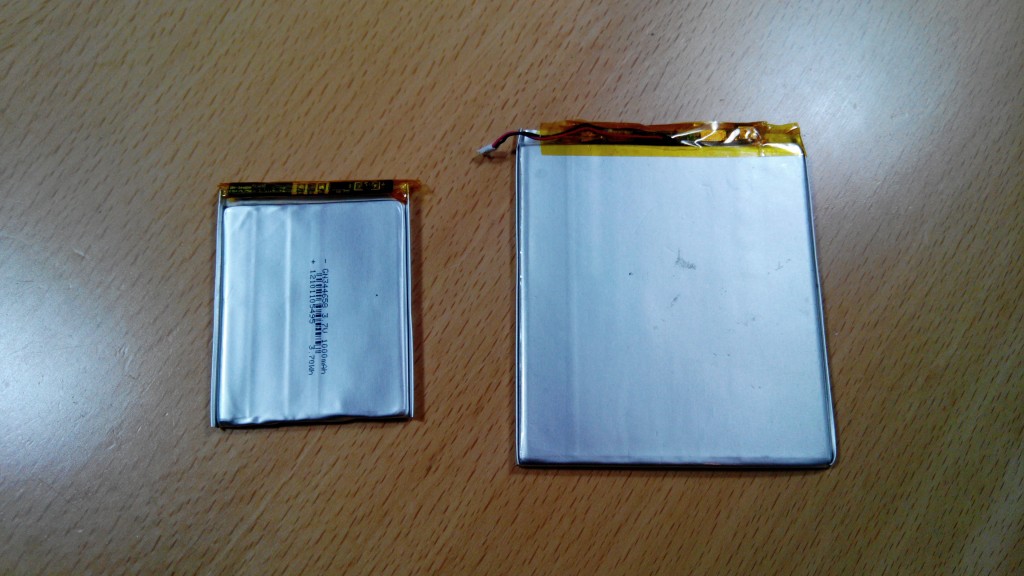
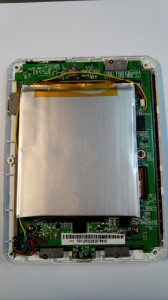
The new battery li-ion from AliExpress measure 4x75x86mm, with 3.7V and 3800mAh. Warning, you need the 3D printed spacer to use this battery.

I removed the original one and harvested it’s connector for the new one.

To remove the original double side taped battery, use an air dryer or so (warning not a hot air gun, it would be too hot)

The new battery is held firmly with double sided tape and now it last about 20hours of flight: perfect. (but the drawback: it is quite heavy to read in the bed now….)

Software

They are tons of tutorials on the web, I wont describe it any further, but simply put, it works this way:

Download XCSoar KoboRoot.tgz: http://www.xcsoar.org/download/data.html

And place it on the kobo root file system using any file browser, restart and you are done.

GPS configuration

GPS module

For the GPS module, set the device to /dev/ttymxc0 at 9600bauds, generic drivers.

BlueFlyVarioTTL

For the the BlueFlyVarioTTL, set the device to /dev/ttymxc0 at 57900bauds, blueflyvario drivers.

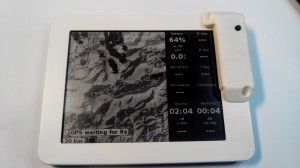
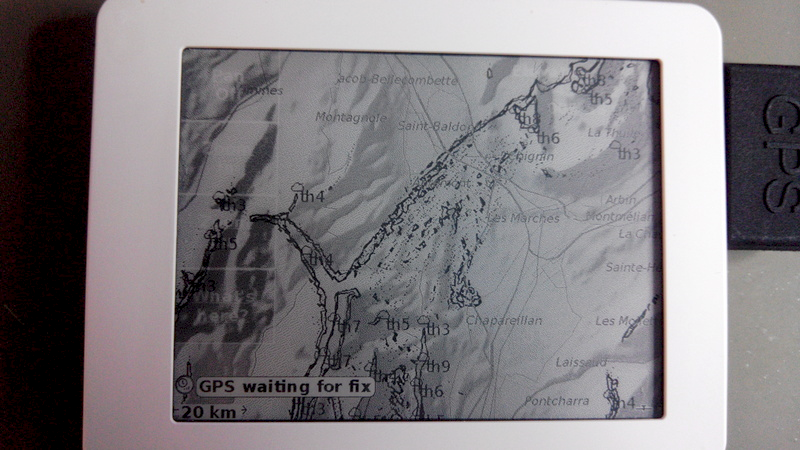
“GPS waiting for fix” should appear, note that the first fix can take up to 15min (30s later on, thanks to BACKUP power supply to keep the RTC and ephemeris)

You can change the sink alarm and volume:

  • Enable Wifi, and Telnet,
  • Connect to with telnet to the Kobo,
  • send the following commands:

stty ospeed 57600 ispeed 57600 -F /dev/ttymxc0 #configure baudrate

stty -F /dev/ttymxc0 raw #set device as raw

echo ‘$BFS 2500*’>/dev/ttymxc0 # sink alarm to -2500cm/s

echo ‘$BVL 70*’>/dev/ttymxc0 # volume to 70%


Maps

Then download the map: http://www.xcsoar.org/download/data.html

Download hotspot (probable thermal) as way-points (wpt format), and set the file in way-points configuration): http://thermal.kk7.ch/, save all this map file to the correct XCSoar folder.

I created custom map content to have paragliding skyways displayed on XCS:

More detail here: http://www.dotmana.com/weblog/2014/07/xcsoar-generate-custom-maps/

And here you are, you have a comp GPS for less than 100€/$/£ for paragliding/sailplane, in about an hour of work.

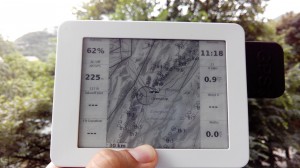
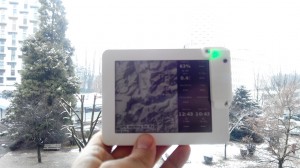
Result with GPS module

Result with BlueFlyVarioTTL

(note the green led flashing when lifting)

leGPSBip: solar vocal GPS alti vario

This device is ready to use with the Kobo or any smartphone, simply connect it and voila! You have a fully GPS/altimeter enabled smartphone.
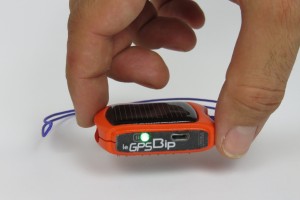
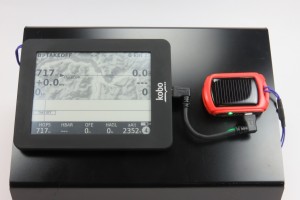
It also act as a standalone vocal GPS variometer when not connected, pretty convenient:
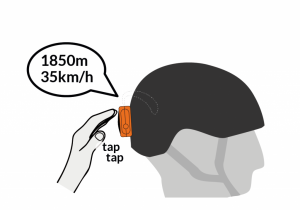
More info here: http://www.lebipbip.com/legpsbip-solar-vocal-gps-alti-vario/

Links and references

XCSoar forum: http://forum.xcsoar.org/viewtopic.php?f=3&t=1242

Kobo GPS mod on another blog: http://www.extreme-nature.de/?p=9114

M1.6×8 screws: http://www.ebay.co.uk/

Commercial Kobo mod: http://www.goflyinstruments.com/gofly-project-v4/

XCSoar forum about this mod: http://forum.xcsoar.org/viewtopic.php?f=3&t=1404&start=10

Li-ion battery on AliExpress: http://www.aliexpress.com/item/L002-3-7V-3800mAH-457992-PLIB-polymer-lithium-ion-battery-Li-ion-battery-for-tablet/1477811584.html

BlueFlyVarioTTL http://blueflyvario.blogspot.com.au/2014/11/blueflyvariottlgpsv10-released.html

BlueFlyVarioTTL case: http://blueflyvario.blogspot.com.au/2014/07/blueflyvariottlgps-simple-case.html

Mini Solar vario: http://www.lebipbip.com/

STL archive: Kobo_Mini_case
Why FLARM protects it’s radio protocol

The FLARM device is definitely useful for avoiding collision in sailplane.

But the company behind maintains it’s monopoly position arguing that’s it’s safer and cheaper for the users:

We fundamentally believe that our low cost collision warning technology and its licensing procedures are in the
best interests of the sport and its participants.

To ensure safety, full compatibility and interoperability are essential. Experience shows that it is impossible to
be compatible just by following a written specification.


This text is just regular company’s crap, to reassure themselves (and the shareholders) they can maintain a high level of monopoly (and profit).

They also state the radio protocol is patented:

FLARM applies for the radio communication between the units a proprietary and copyright-protected protocol

Unfortunately, there is no such thing as copyrighted radio protocol!

My prefered part is it when the founder respond this accusation of being obscure and avoid implementation in many hardware device, and in software such as XCSoar:

https://groups.google.com/d/msg/rec.aviation.soaring/daOXteD5ois/IJ1GTbxWPCAJ

The best part it: they managed to impose the device, not only in competition but for any sailplane in France. How comes the FFVV (French Gliding Federation) can make a device mandatory without any alternative?
One person, Hiram Yaeger seemed to have reverse engineered the protocol:

FLARM PROTOCOL VERSION 4 (2008)


If interoperability by documentation or standardization would not be possible, even in RF, there would be no GSM, no GPRS, no WIFI, no Bluetooth.

What do you thing you are FLARM? You are just making a simple electronic device broadcasting GPS position in the free RF band, and it’s not even EASA / CAA / FAA certified! (just like any regular babyphone)

Step down while you can and publish this RF protocol, or the community will do it for you sooner or later! (and no update of the 10k units released in the world will save you)

Skytraxx 2.0 interferences VHF radio

I’m facing this problem: I have a Skytraxx 2.0 (GPS variometer for paraglider) and a Puxing PX-888 VHF ham radio.
When the variometer emits sounds, it triggers the radio whatever the squelch setting is set on.
A quick video of the problem:

While I’m doubtful about the CE certification of this very cheap Chinese radio (a CE sticker is present in the battery tray but doesn’t mean much…).

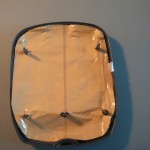
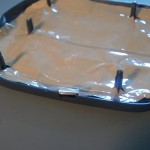
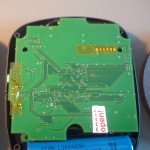
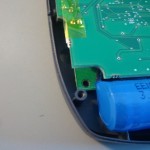
So, as I’m not planning to change neither the radio or the variometer, I came along with this fix: put aluminum foil inside the variometer case.

Very easy to do, juste make sure the aluminium touches the usb connector when you close it and everything else is well insulated (pin with kapton tape, etc..).

Now the same test with the aluminium shield:

Much better: can use for competitions now, with the mini solar vario leBipBip.

It even seems to improve the time to fix, usualy took 5min and now about 1-2min.


GoPro quick release pole mount

Here are few picture of my gopro pole mount, not using the official one, requiring to disassemble, but instead using the quick release.

Made of PVC and stainless steel screw and nuts, and machined with a hand saw, and power drill, thats it.

Kortel Kairn + Sak + Scratch

La sellette Kairn de Kortel est super: confortable, légerer, avec l’option sac/airbag, c’est parfait.

Mes soucis par contre avec cette sellette sont:

  • l’air bag ne se prégonfle pas bien
  • le sac pendouille sous la sellette
  • en cas de remplissage du sac dans le dos en vol, ca ressemble vraiment plus à rien

Comme j’utilise cette sellette en bi, l’airbag me plait mais le pilote appuis dessus en tirant vers le bas et ca ressemble à rien.

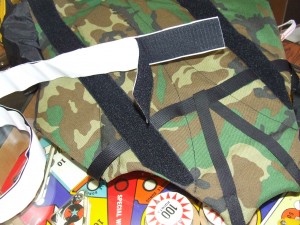
Ma solution, coller du velcro adhesif 50mm (10€ sur ebay), l’amener à coudre au cordonier du coin pour 25€ et tout de suite ca change tout:

  • l’air bag se prégonfle
  • le sac est bien plaqué contre la sellette
  • meme remplis d’affaire, il reste en forme

Les photos:

DSCF7449.resized

Mise en palce du velcros, ajustage au cutter.

DSCF7448.resized

Verifier que ca tombe en face, idéalement, à mettre en place sur portique, avec une personne dans le sellette.

DSCF7445.resized

DSCF7446.resized

DSCF7447.resized

Une fois cousus, c’est clean et ca bougera plus.

DSCF7450.resized

Les deux parties assemblés: parfait, à nous les joies du biplace et solo ultralight ET confort!

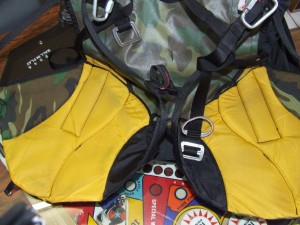
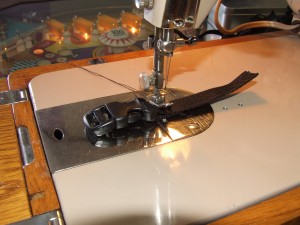
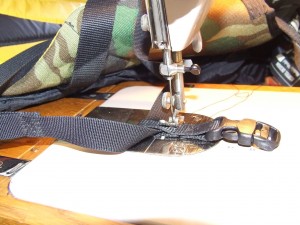
Deuxieme modif: j’ai rajouté un clip (50cents sur ebay):

DSCF7451.resized

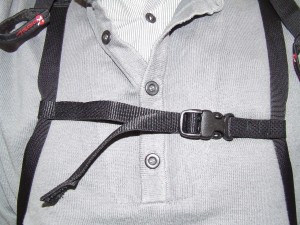
Un clip, un élastique, une sangle 15mm

DSCF7452.resized

DSCF7453.resized

DSCF7454.resized

Monté et fini, réglable et rappel automatique avec élastique.

Test du Speed Bag pour Hybrid/Altirando XP

Avoir une sellette réversible light, c’est bien. Avec airbag, c’est mieux, c’est avec secours sous l’assise encore mieux, mais bien sur le cocon, c’est le top.

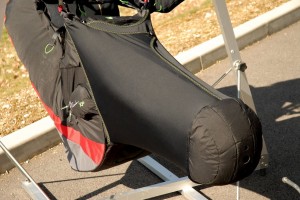
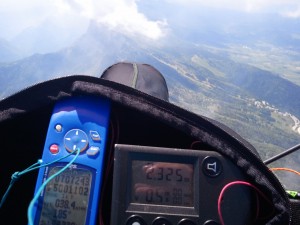
J’ai donc testé le cover leg au dessus du Vercors  entre les nuage et c’est top:

  • Chaleur
  • Facile à glisser les jambes, et le sortir
  • Mieux qu’un cale pied au niveau feeling voile
  • Léger
  • Permet de cacher que l’on vole en mocassin/tongs
  • Size does matter

Avant:

2011-05-20 13.20.01.resized

Après:

DSC_0036.resized

2011-05-21 13.06.10.resized

2011-05-21 13.06.31.resized

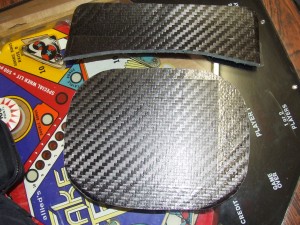
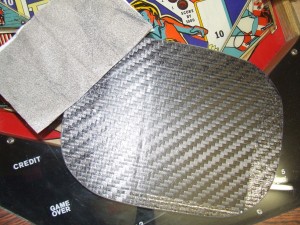
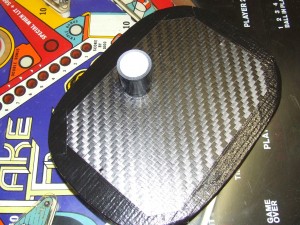
Edit: Custom carbon footplate:

Placer du scotch des deux coté de la découpe. Couper à la scie sauteuse lame métal.

DSCF7363.resizedEbavurer avec du papier de verre (attention, ca gratte, faire ca dehors avec des gants)

DSCF7364.resizedMettre du scotch autour, pour que les fibres n’usent pas prématurément le tissus.

DSCF7365.resized